Loading 3D models
You can load 3D models to application from mail. Files should not be compressed (zip, rar, etc.).
Open the message and download the files tapping on each of them. When download is finished tap and hold on one of the files until application selection menu appears.
Find and select Simplyceph in this menu. Application will open and the message:
Open the message and download the files tapping on each of them. When download is finished tap and hold on one of the files until application selection menu appears.
Find and select Simplyceph in this menu. Application will open and the message:
"3D model added to buffer"
will pop up.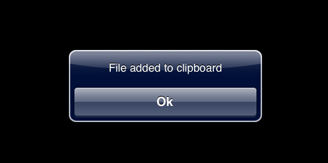
It means that 3D model got into application temporary buffer and now you can add it to "Diagnostic models" section in desired patient's record.
Tap "Add 3D model". You will see model adding and loading process immediately.
The application automatically tries to identify model orientation in framework and jaw type (upper or lower). If both automatic identifications are successful and correct, 3D model will be opened at once. If not, the application will offer you to make this choice manually.
Please note!
Unambigious jaw type identification (upper or lower) is necessary to work with 3D models correctly. The application analyses models' filenames and can automatically identify upper or lower jaw type without wasting your time and unnecessary questions.
Version 1.3 automatically identifies jaw type by the following names (example for lower jaw):
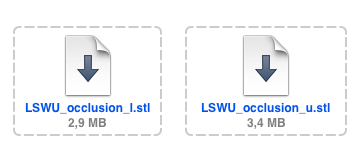
- U7ZPEN_lower.stl
- T9UJ2X_shell_occlusion_l.stl
- Alex_2345_Mandibular.stl
- VS_SET1_Mandibular.stl
After you have opened 3D model for viewing you can immediately see if the application has identified orientation in framework correctly (different vendors place their models in framework in different ways). It can be checked by model placement just after opening:
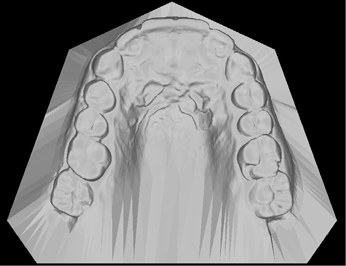
Correct position for UPPER jaw:
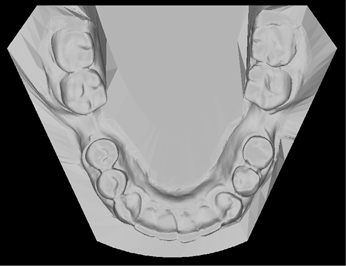
Correct position for LOWER jaw:
Below you can see thumbnails for correct 3D model position:
- - upper and lower jaws together
- - upper jaw only
- - lower jaw only
correct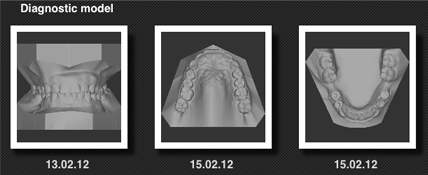
Here is an example of incorrect placement:
incorrect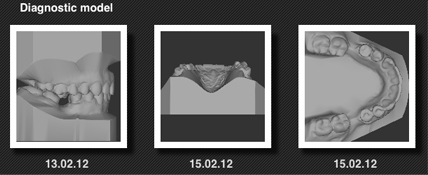
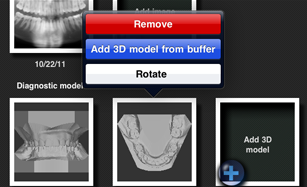
There is one more way to merge 3D models when you load them to application.
After you have loaded one model to patient's record, open the second one complementary to it in the message (selecting "open with SimplyCeph), Model will get into the buffer. Then tap and hold on loaded model thumbnail until context menu appears. Select "Add 3D model from buffer" in this menu.
In the process of adding the application automatically determines the position of the jaw. If you could not be determined, then you will be prompted to specify the server may also be cases where the application is determined the position of the jaw is not true ...
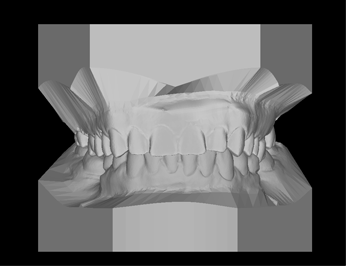
Correct position for OCCLUDED jaws:
Look at the results of wrong jaw position identification as an example:
incorrect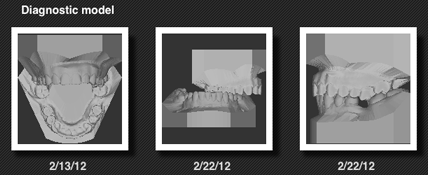
If you face such situation, see this section to find out how to fix wrong position easily:
To find out how to merge upper and lower jaw 3D models together and separate them see section